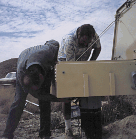

Mating the casing to the well head enclosures was
done at Lajitas with a custom threaded flange.


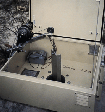
The enclosure is
mounted to the well with 8 large bolts. One or more
bolts may be electrically connected to the casing to
secure a good electrical ground. Once the box is
installed, it forms a convenient structure for mounting
a small winch used to lower the seismometer.

A dummy seismometer is
lowered into the hole to gauge the depth. During
installation the seismometer will be lowered by
electric winch within a foot of the bottom and then
by hand for the final distance. Lowering by winch
avoids banging the seismometer against the side of
the hole, while the final hand work allows much gentler
placement on the bottom of the hole.

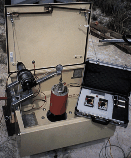
The seismometer
is attached to the cable and ready to be lowered into
the hole. To lock the mass during this operation, a
DC current is applied to the main coil to force it
against the stops. A volt-meter and amp-meter monitor
this operation and insure the coil remains locked
during the operation.


By examining the level on the top of the instrument through a small telescope, it is possible to determine if the instrument is level. On occassion it is necessary to rotate the seismometer slightly to avoid irregularities on the floor.
At this point the seismometer is in the
hole and the site is ready for the final electronics
installation and configuration.